Settings
จากตอนที่แล้วเราจะเห็นว่าหากมีการ rebuild ใหม่ค่าต่าง ๆ จะหายไป extensions ที่ติดตั้งไว้ก็หายไปด้วย ดังนั้นสิ่งจำเป็นอย่างมากในการใช้งาน Dev Containers คือตั้งค่าต่าง ๆ ไว้เมื่อมีการ build ใหม่แต่ละครั้งก็จะกลับมาเหมือนเดิมทุกอย่างพร้อมที่ใช้งาน และ เขียน code ต่อได้เลย โดยค่าที่จำเป็นเบื้องต้นที่จะแนะนำวันนี้มีดังนี้
devcontainer.json
พระเอกของเรายังคงเป็น file devcontainer.json เหมือนเดิมโดยการตั้งแบบละเอียดท่านสามารถไปศึกษาต่อได้ที่ Dev Container metadata reference
ในตอนนี้ขอกล่าวสัก 2 - 3 property แค่เป็นแนวทางนะครับ
name
เราเจอจากตอนที่แล้วสำหรับการตั้งค่า name ซึ่งเป็นการตั้งชื่อ Dev Container ของเรานั่นเองเมื่อ start ขึ้นมาจะปรากฎอยู่บน title bar ของ VSCode และ ในเมนู File –> Open Recent ซึ่งสำคัญพอสมควรเมื่อเราต้องการเปิด Project นี้เมื่อปิดไปแล้วมันจะปรากฎชื่อที่เราตั้งนี้ให้สังเกตได้ง่ายนั่นเอง
image
เป็นการระบุ docker image ที่จะใช้ในการ build Dev Container ที่จะใช้งาน image ตรงนี้เราสามารถ build ไว้ใช้เองก็ได้นะครับ แล้ว push ไปไว้ยัง registry หรือ จะ build แบบกำหนดเองด้วย Dockerfile ก็ได้ผมจะเขียนในตอนต่อ ๆ ไปอีกครั้งครับ
init
บาง service จะมีปัญหาเรื่องการจัดการ process ทำให้เกิด zombie ระหว่างทำงานบางอย่างดังนั้นการใส่ init เป็น true จะช่วยเรื่องนี้ได้ แนะนำว่าให้ใส่ไปทุกครั้งก็ได้ เพราะไม่มีผลอะไร จากประสบการณ์ส่วนตัวเวลาเรา dev แล้วเกิด zombie นี่ต้อง rebuild ใหม่อย่างเดียวเลยบางทีทำให้ docker deamon รวนและตายไปด้วย
customizations
customizations นี่ถือเป็นส่วนที่ต้องตั้งค่าเยอะสุดละเพราะการกำหนดค่าของ vscode จะตั้งในส่วนนี้ นั่นหมายความว่าเราอยากให้ vscode เป็นอย่างไรเราก็เอา settings ของ vscode มาใส่ไว้ที่นี่ได้เลยเมื่อ build container ขึ้นมาก็จะเหมือนเดิมทุกครั้ง และ ที่สำคัญคือในทีมจะได้หน้าตา vscode ที่เหมือนกันมีเครื่องมือที่เหมือนกันปัญหาเรื่องกำหนด format บางอย่างก็จะหมดไปเพราะทุกคนมีเครื่องมือที่เหมือนกันนั่นเอง
postCreateCommand
สำหรับบาง project ไม่ได้ใหญ่มาก ไม่ต้องติดตั้งอะไรมากสามรถใช้คำสั่งนี้ติดตั้งส่วนต่าง ๆ เพิ่มหลังจาก container ถูกสร้างเสร็จแล้ว เช่น การติดตั้ง package การใช้ pip หรือ npm เป็นต้น ถ้ามีหลายคำสั่งเราสามารถสร้างเป็น shell script แล้วเรียกก็ได้
features
บางครั้งเราต้องการติดตั้งเครื่องมือบางอย่างเพิ่มเติม เช่น shell พวก fish, hugo, pnpm หรืออื่น ๆ ที่มี scripts เตรียมไว้ให้ซึ่งสามารถดูได้จาก Dev Containers Features
ตัวอย่าง
Basic
{
  "name": "Dev Container EP2",
  "image": "debian:11",
  "features": {
    "ghcr.io/devcontainers/features/python:1": {
      "version": "3.11"
    },
    "ghcr.io/meaningful-ooo/devcontainer-features/fish:1": {},
    "ghcr.io/devcontainers-contrib/features/tmux-apt-get:1": {}
  },
  "postCreateCommand": "pip install fastapi[all]"
}
ตัวอย่างด้านบนเป็นการใช้ debian 11 เป็นฐานในการเริ่มต้น แล้วใช้ devcontainer features ติดตั้ง python 3.11, shell fish และ tmux เพิ่มเติม นอกจากนี้ตอนปิดท้ายยังให้ทำการติดตั้ง fastapi เพิ่มให้ด้วย ดังนั้นเมื่อ build เสร็จก็สามารถเขียน fastapi ต่อได้เลย
{
  "name": "Dev Container EP2",
  "image": "python:3.11",
  "features": {
    "ghcr.io/meaningful-ooo/devcontainer-features/fish:1": {},
    "ghcr.io/devcontainers-contrib/features/tmux-apt-get:1": {}
  },
  "postCreateCommand": "pip install fastapi[all]"
}
ส่วนตัวอย่างแบบที่ 2 นี้ใช้ image python:3.11 เป็นฐานซึ่งเป็น debian 11 เหมือนกัน ดังนั้นในส่วนของ features เราก็แค่ติดตั้ง fish และ tmux เพิ่มแค่นั้น
Customizations
ถ้าเราจะตั้งค่า VSCode ที่จำเป็นสำหรับการพัฒนา python เราก็สามารถยัด json มาได้เลยซึ่งค่าพวกนี้เราสามารถ copy มาจาก setting ของ VSCode ปกติได้เลย ตรงนี้จะทำให้การทำงานของเรายืดหยุ่นขึ้นคือ ไม่ว่าจะ build ขึ้นมาเมื่อไหร่ settings ต่าง ๆ ก็จะเหมือนเดิมทุกครั้ง และ แต่ละ Dev Container ก็จะเป็นอิสระต่อกัน และที่สำคัญมากที่สุดคือกาพัฒนาเป็นทีม ทุกคนจะทำงานภายใต้สภาวะแวดล้อมเดียวกันทั้งหมด code จะออกมาหน้าตาเหมือนกันหมด ♥️
มาตัวดูตัวอย่างสำหรับ python กัน
{
  "name": "Dev Container EP2",
  "image": "python:3.11",
  "init": true,
  "customizations": {
    "vscode": {
      "settings": {
        "editor.autoClosingBrackets": "always",
        "editor.bracketPairColorization.enabled": true,
        "editor.formatOnPaste": true,
        "editor.formatOnSave": true,
        "editor.formatOnSaveMode": "file",
        "editor.guides.bracketPairs": true,
        "editor.guides.highlightActiveIndentation": false,
        "editor.guides.indentation": false,
        "editor.inlineSuggest.enabled": true,
        "editor.minimap.enabled": false,
        "editor.tabSize": 2,
        "indentRainbow.indicatorStyle": "light",
        "python.formatting.provider": "none",
        "remote.autoForwardPorts": true,
        "remote.localPortHost": "allInterfaces",
        "terminal.integrated.cursorBlinking": true,
        "terminal.integrated.defaultProfile.linux": "fish",
        "vsintellicode.features.python.deepLearning": "enabled",
        "workbench.colorCustomizations": {
          "editorUnnecessaryCode.border": "#fbbd52",
          "editorUnnecessaryCode.opacity": "#ffffff8b",
          "editorIndentGuide.background": "#2a2a2a"
        },
        "editor.showUnused": true,
        "editor.renderLineHighlight": "gutter",
        "terminal.integrated.gpuAcceleration": "on",
        "terminal.integrated.copyOnSelection": true,
        "terminal.integrated.cursorStyle": "line",
        "terminal.integrated.fontSize": 15,
        "editor.quickSuggestions": {
          "other": "on",
          "comments": "on",
          "strings": "on"
        },
        "isort.check": true,
        "indentRainbow.lightIndicatorStyleLineWidth": 2,
        "python.languageServer": "Pylance",
        "python.linting.banditEnabled": true,
        "python.linting.lintOnSave": true,
        "python.linting.enabled": true,
        "python.linting.pylintEnabled": false,
        "[python]": {
          "editor.defaultFormatter": "ms-python.autopep8",
          "editor.formatOnSave": true,
          "editor.formatOnType": true,
          "editor.tabSize": 4,
          "editor.codeActionsOnSave": {
            "source.organizeImports": true
          }
        },
        "isort.args": [
          "--profile",
          "black"
        ],
        "python.analysis.autoImportCompletions": true,
        "python.analysis.autoImportUserSymbols": true,
        "python.analysis.indexing": true,
        "python.analysis.diagnosticSeverityOverrides": {
          "reportUnboundVariable": "information",
          "reportImplicitStringConcatenation": "warning",
          "reportImportCycles": "error",
          "reportUnusedCoroutine": "error"
        },
        "python.formatting.autopep8Args": [
          "--max-line-length",
          "150",
          "--experimental"
        ]
      },
      "extensions": [
        "kevinrose.vsc-python-indent",
        "ms-python.autopep8",
        "ms-python.isort",
        "ms-python.python",
        "ms-python.vscode-pylance",
        "njpwerner.autodocstring",
        "oderwat.indent-rainbow",
        "VisualStudioExptTeam.vscodeintellicode"
      ]
    }
  },
  "features": {
   "ghcr.io/meaningful-ooo/devcontainer-features/fish:1": {},
    "ghcr.io/devcontainers-contrib/features/tmux-apt-get:1": {}
  },
  "postCreateCommand": "pip install fastapi[all]"
}
จากตัวอย่างด้านบนเราจะเห็น customizations.vscode.extensions ตรงนี้เราจะใช้ extension อะไรก็กำหนดไว้ตรงนี้ได้เลย ถ้าเราใช้ features ติดตั้ง python เราไม่จำเป็นต้องกำหนด extension ของ python และ pylance ก็ได้เพราะตัว feature ได้ติดตั้งให้อยู่แล้วตรงนี้เราจะรู้ได้ยังไงว่าแต่ละ features กำหนด หรือติดตั้งอะไรมาให้บ้าง ? คำตอบคือเราต้องเข้าไปดูเองใน github ของแต่ละ features เองนะครับว่ามี options หรือ ตั้งค่าอะไรบ้าง link จะอยู่ในหน้า Dev Containers Features
Python Code
เมื่อ build เสร็จแล้วอาจจะมีการถามให้ติดตั้งเครื่องมือ และ extensions เพิ่มเติม เพื่อความชัวร์ให้เรา reload vscode window ก่อนสักรอบเพราะบางทีมันนึกว่าเรายังไม่ได้ติดตั้ง extensions อันนี้เจอบ่อย ถ้า reload แล้วยังถามอีกก็ให้ติดตั้งตามที่มันถามมาครับ
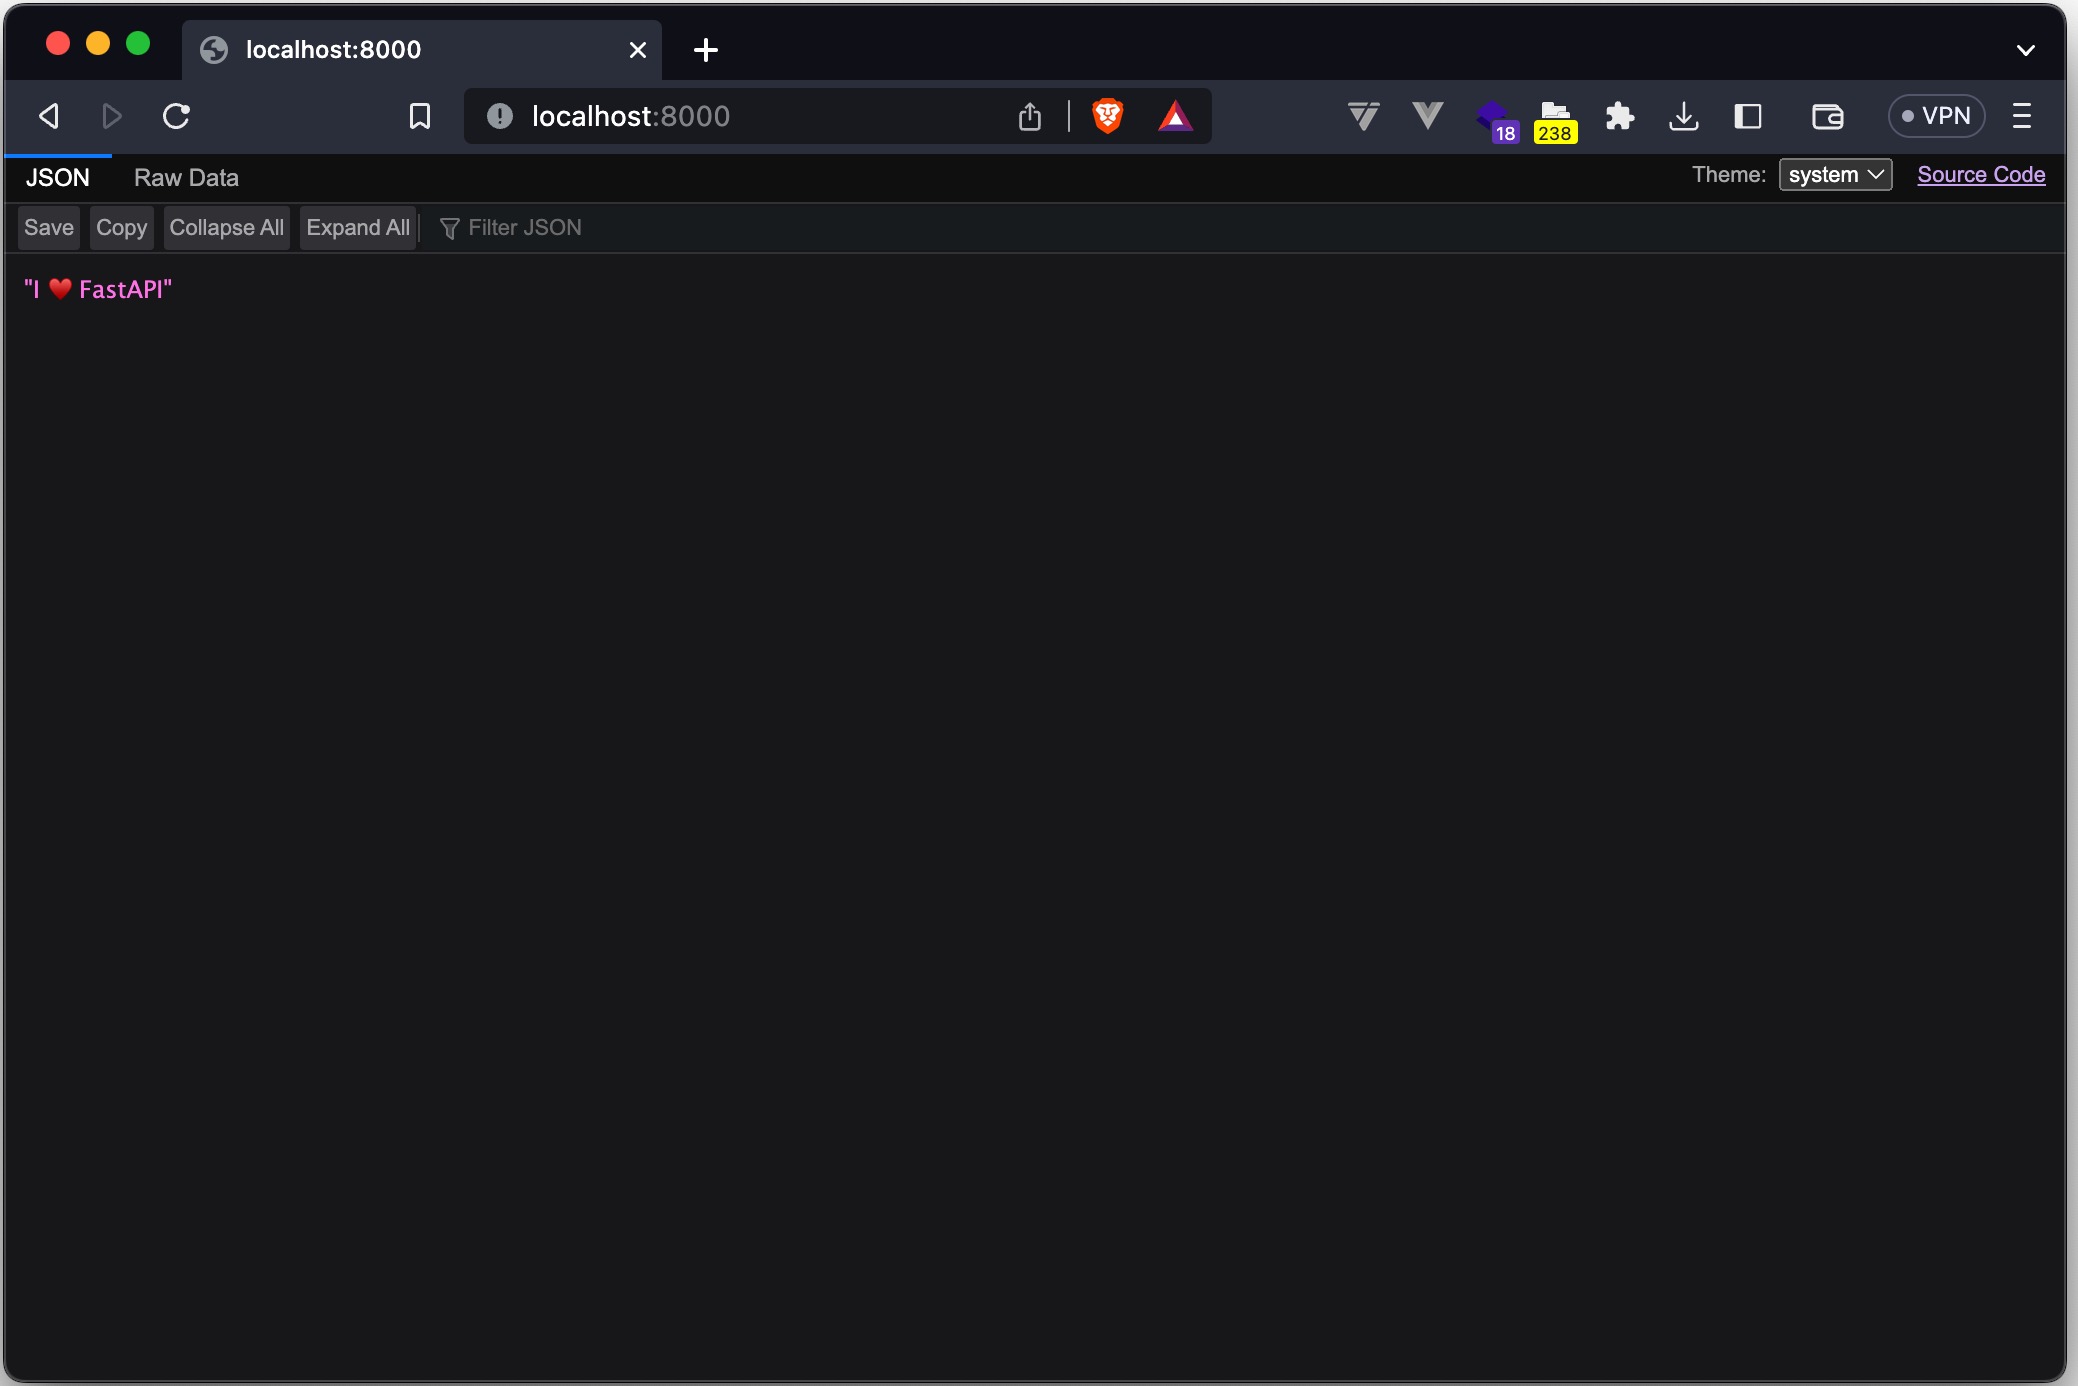
เมื่อทุกอย่างพร้อมแล้วก็สามารถเขียน code ได้เลยในตัวอย่างผมติดตั้ง fastapi ไว้แล้วก็เขียน api แรกกันตามนี้เลย
from fastapi import FastAPI

app = FastAPI()

@app.get('/')
async def root():
    return 'I ♥️ FastAPI'
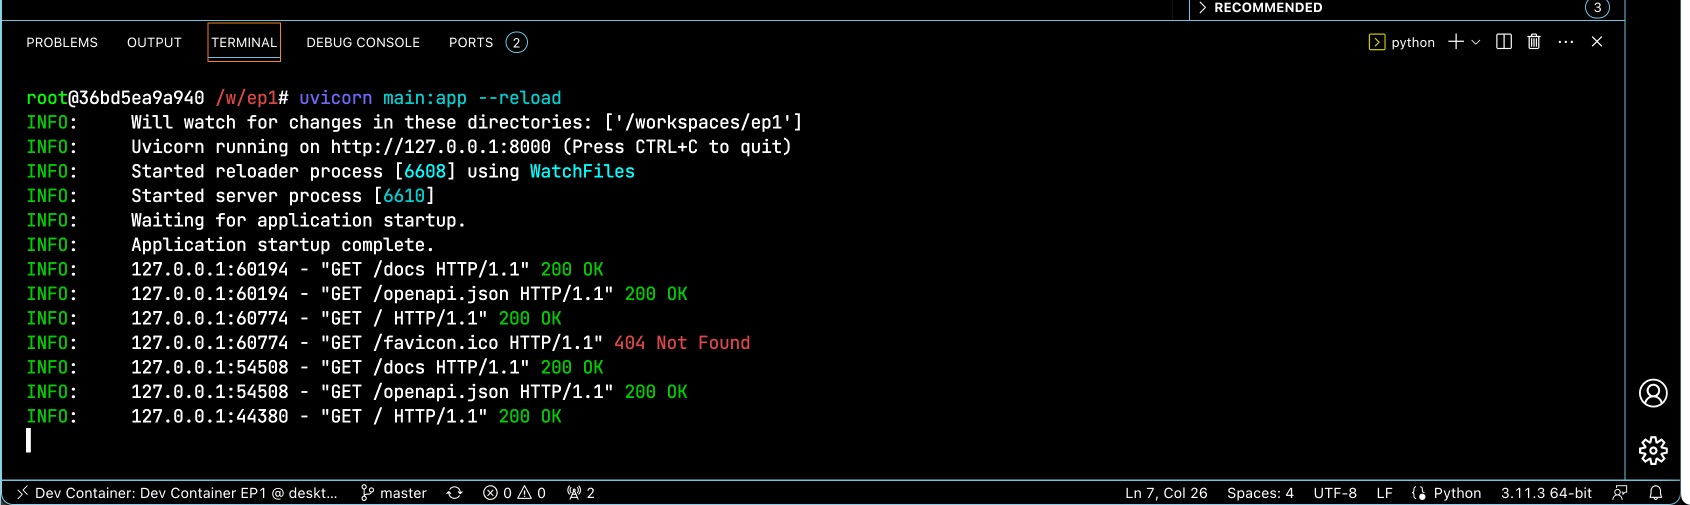
เปิด terminal ขึ้นมาแล้วสั่ง run ดังนี้
root@36bd5ea9a940 /w/ep2# uvicorn main:app --reload
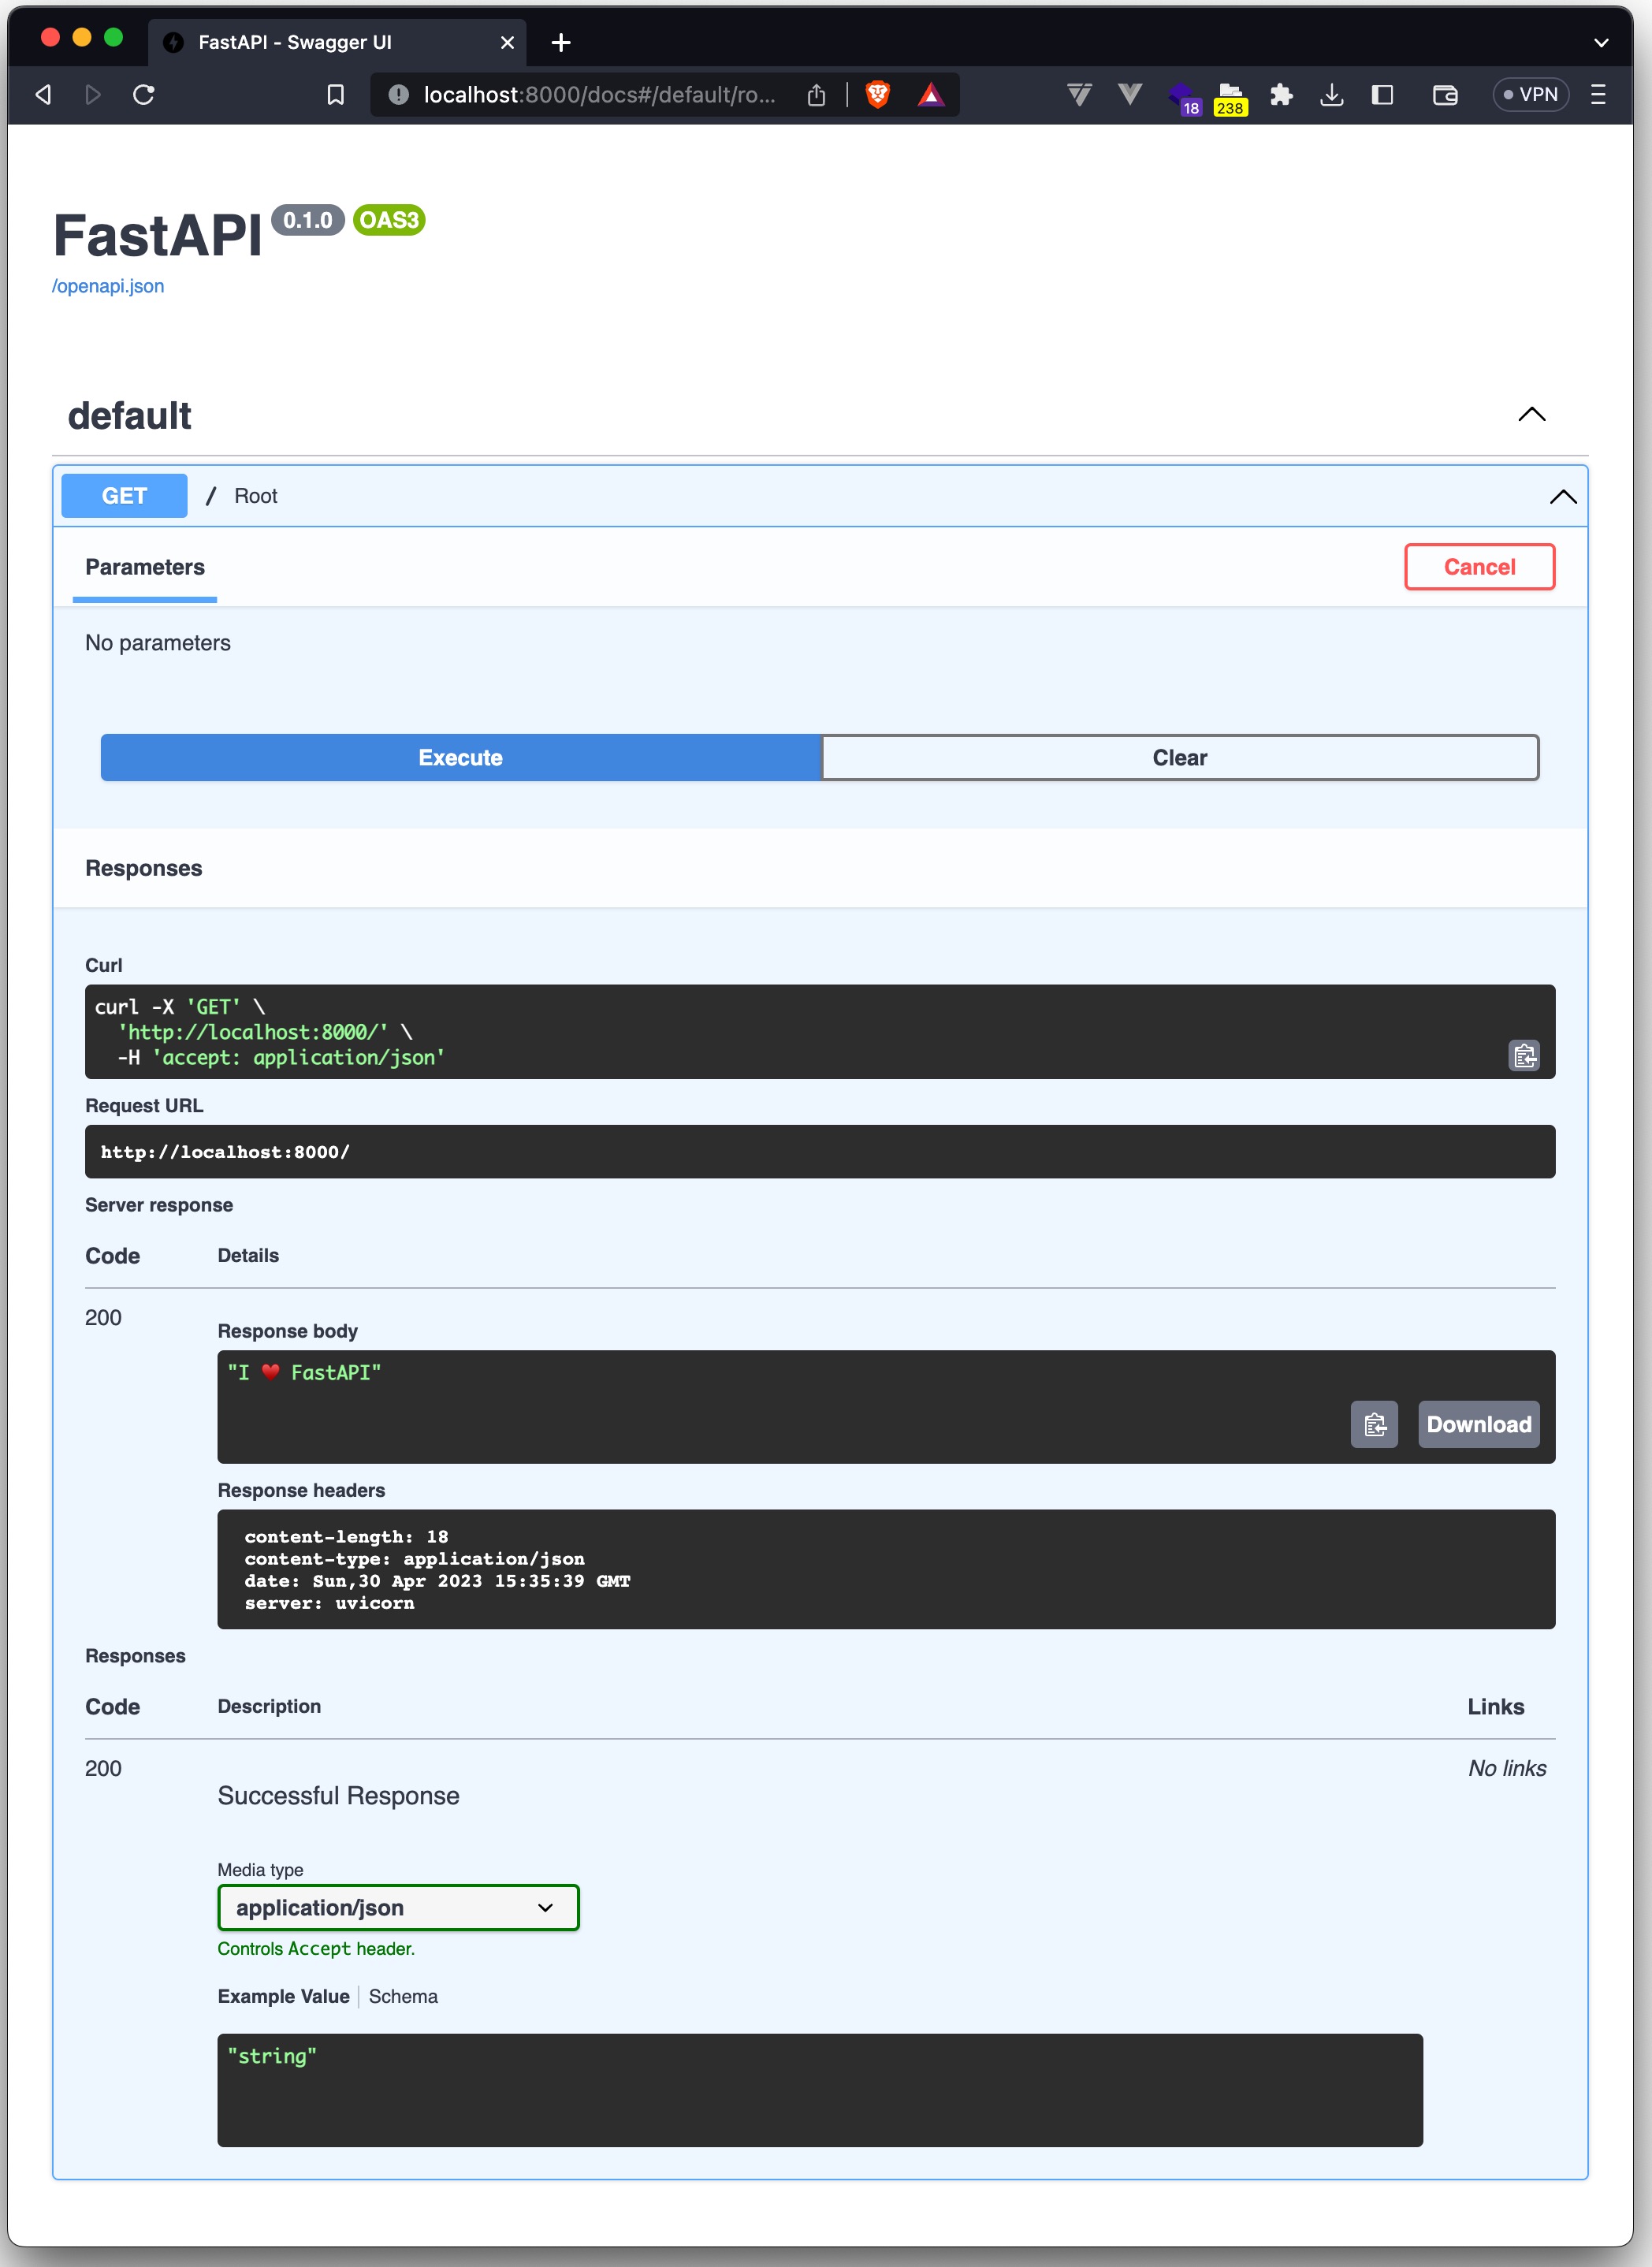
ก็จะได้ผลลัพธ์ดังนี้ เราจะทดสอบโดยเรียก http://localhost:8000 ได้เลย
root@36bd5ea9a940 /w/ep2# uvicorn main:app --reload
INFO:     Will watch for changes in these directories: ['/workspaces/ep2']
INFO:     Uvicorn running on http://127.0.0.1:8000 (Press CTRL+C to quit)
INFO:     Started reloader process [6608] using WatchFiles
INFO:     Started server process [6610]
INFO:     Waiting for application startup.
INFO:     Application startup complete.
ทั้งนี้ให้เราระลึกอยู่เสมอว่า Dev Container นั้นเปรียบเสมือนเราทำงานอยู่คนละเครื่องกับเราเสมอ ปกติการเรียกจากเครื่องเราเข้าไปยัง container นั้นต้อง bind ออกมาก่อนแต่ด้วยความสามารถของ VSCode มันจะรู้อัตโนมัติว่ามีการ run และ เปิด port ภายใน container มันก็จะทำการ bind port เหล่านั้นให้เราทันที แต่ก็มีนะบางครั้งก็มึน ๆ ไม่ยอม bind ให้ แต่ก็ไม่ต้องกังวลเราสามารถตรวจสอบและสั่งเองก็ได้โดยดูที่ tab ports ด้านล่างตอนเราเปิด terminal
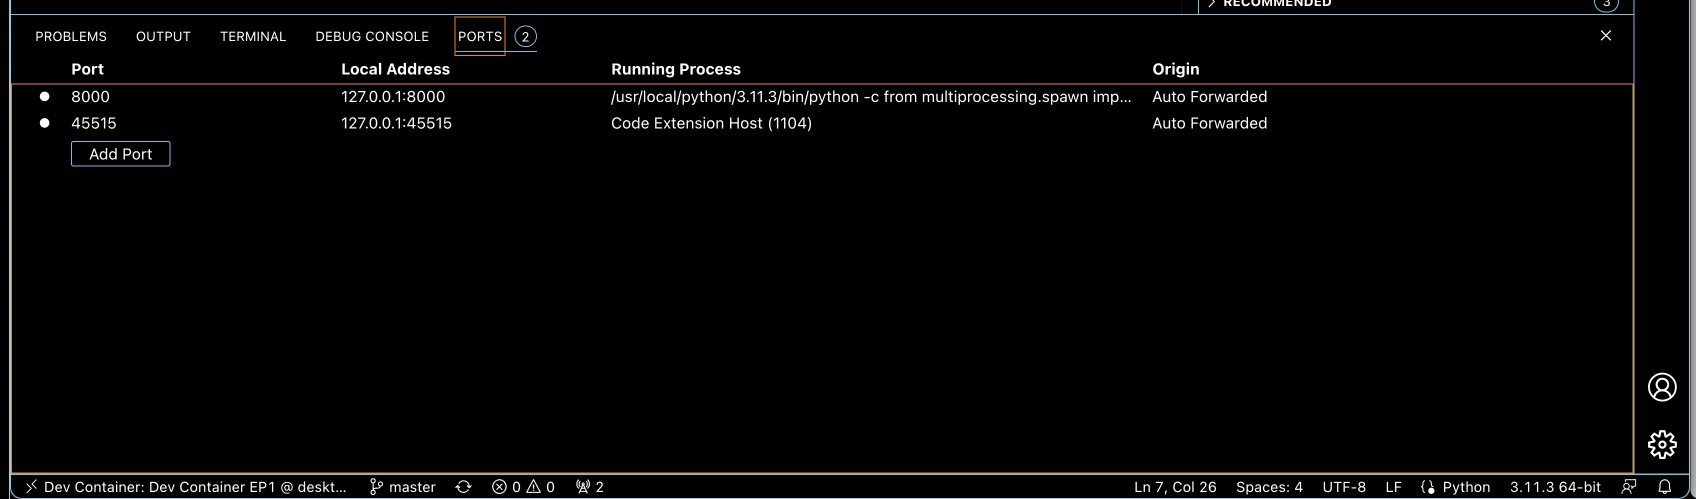
ตรง tab ports นี้เราจะเห็นว่ามีการ bind ports อะไรไว้บ้างเราสามารถเพิ่มหรือลบเองก็ได้ ในตัวอย่างเราจะเห็น port 8000 เปิดและ bind อยู่แล้วเราก็เรียกผ่าน browser บนเครื่องเราได้เลย หรือจะเรียกกับ internal browser ของ VSCode ก็ได้
ส่งท้าย
สำหรับตอนนี้เป็นการแนะนำการ settings ค่าต่าง ๆ ที่จำเป็นพื้นฐานของ devcontainer.json ทำให้เมื่อ build ขึ้นมาแต่ละครั้งก็ไม่ต้องมานั่ง settings กันใหม่ แต่วิธีนี้ก็ยังมีบางอย่างที่ยังไม่ยืดหยุ่นอยู่บ้าง เช่น การติดตั้ง packages ของ os การกำหนดสิทธิของ user อันนี้สำหรับคนที่ทำงานบน linux จะเจอปัญหาเรื่อง user ใน container เป็น root แล้วเมื่อสร้าง file ใด ๆ ก็จะเป็น root ไปด้วยทำให้ user บน host ลำบากในการต้อวมาเปลี่ยนสิทธิ์ทีหลัง ตัวอย่างถัดไปก็จะเริ่มสูงขึ้น โดยการใช้ Dockerfile และ Docker Compose เข้ามาจัดการอีกทีแล้วพบกันตอนต่อไปครับ